How To Hang A Door
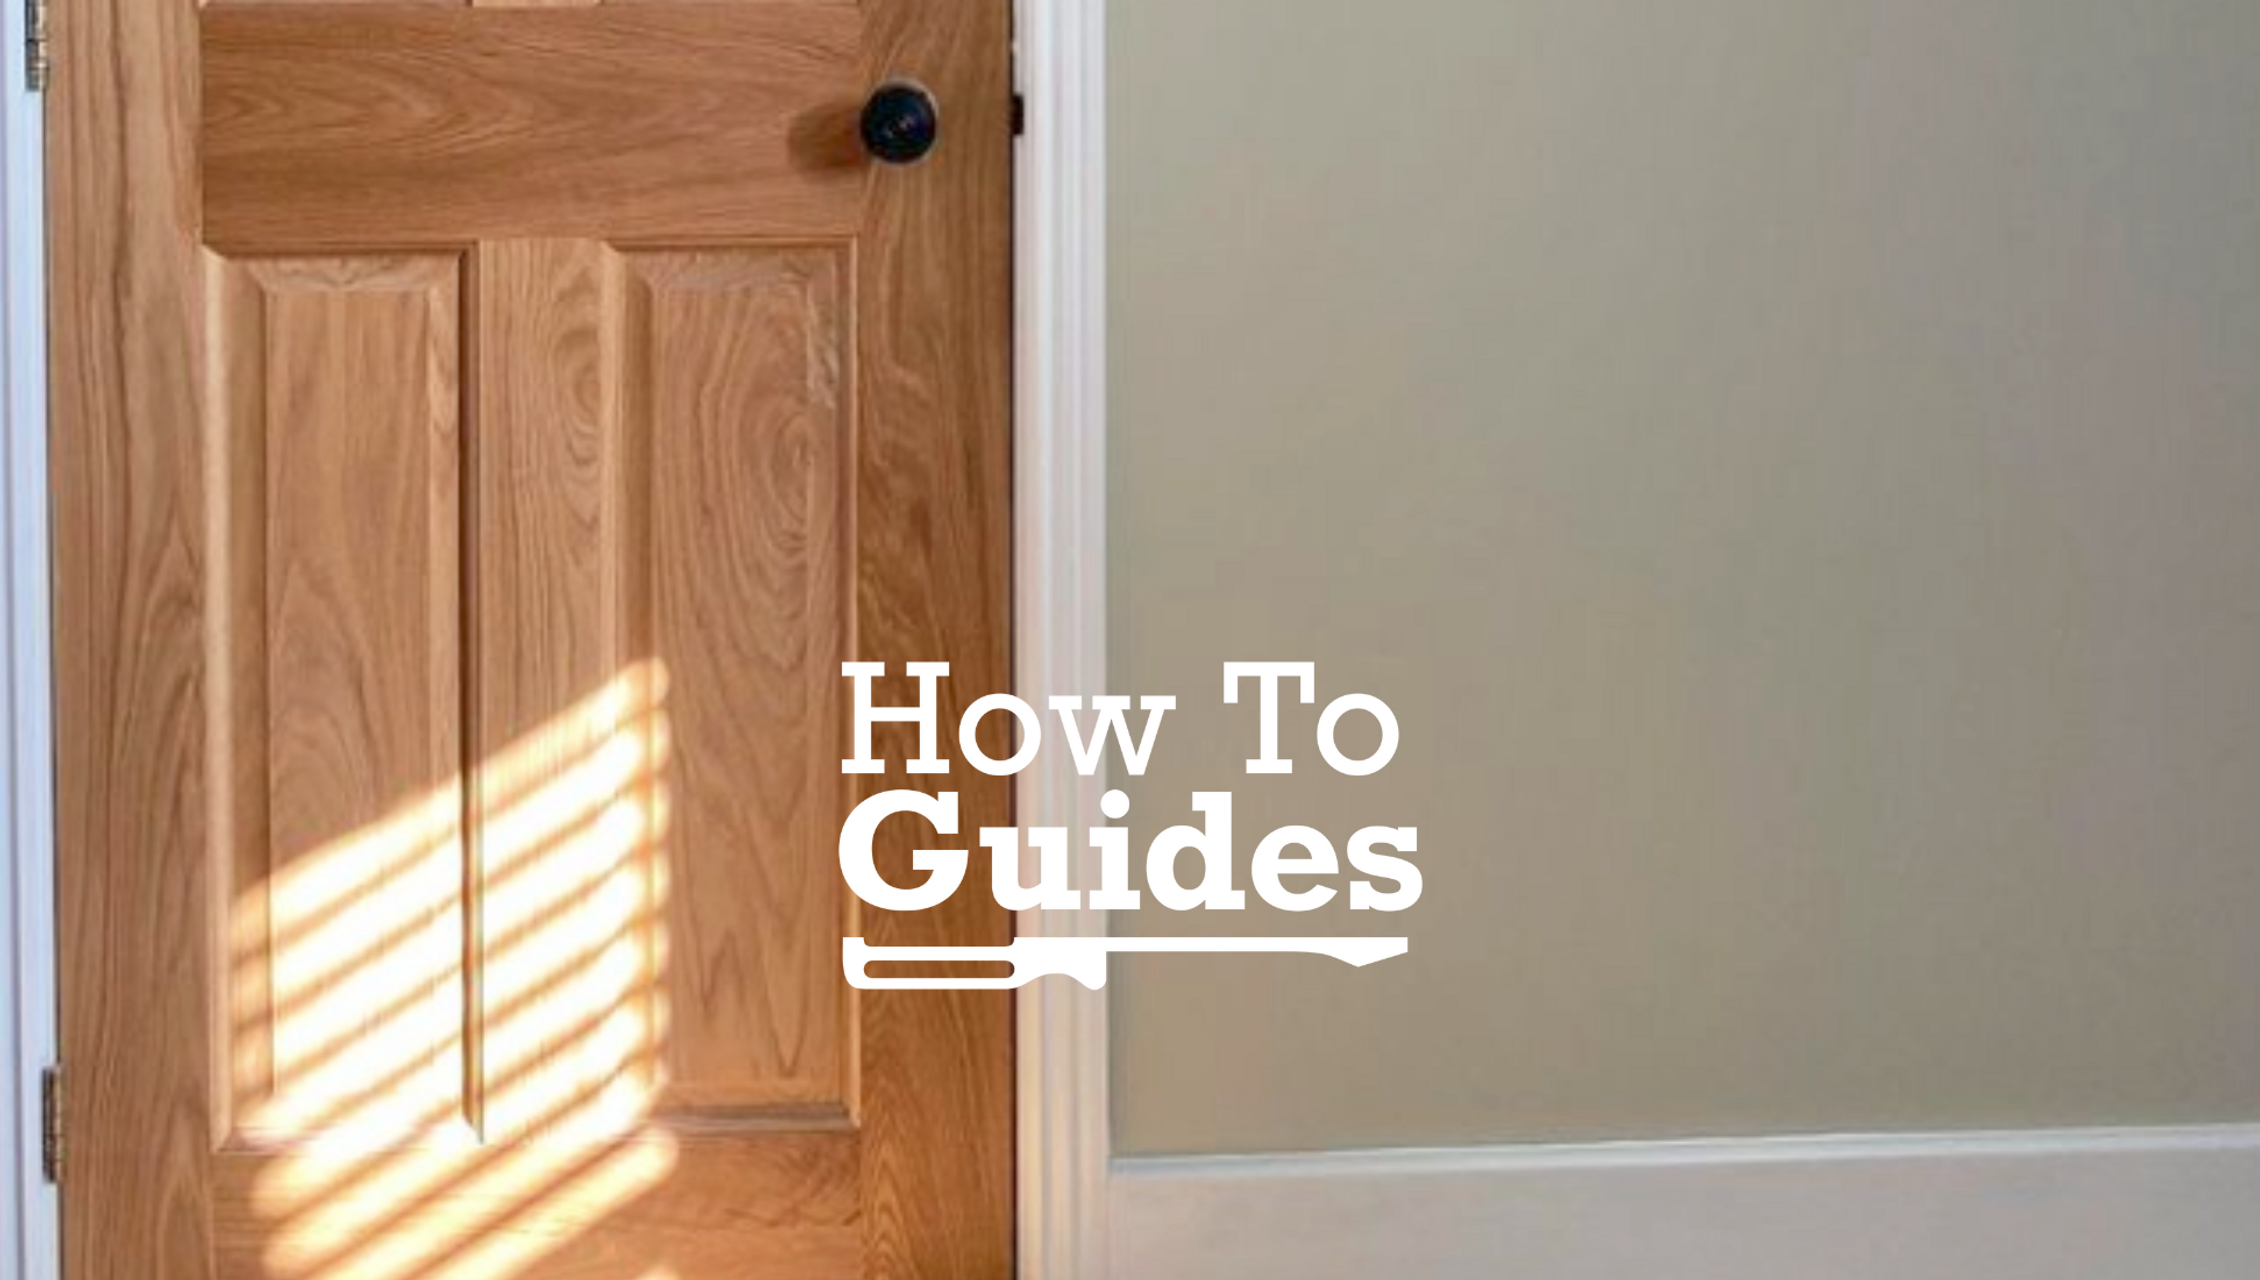
How To Hang A Door: A Step-by-Step Guide
Watch a professional carpenter hang a door in our helpful How To Hang A Door Step-By-Step Video Guide. Find out which tools you will need for hanging a door in an existing frame and also learn how to fit a door stop and butt hinges. You can also can read the step-by-step instructions below.
Video Highlights:
- 0:00 Intro
- 0:13 Tools Required
- 0:29 Install Door Stop
- 0:40 Measurements
- 0:55 Cut Door to Size
- 1:20 Installing the Hinges
- 2:04 Hanging the Door
- 2:14 Conclusion
How To Hang A Door: Tools Needed
Make sure you have the right tools for the job. Here is a handy checklist:
Pencil, tape measure, set square, drill & bits, hammer & chisel, router, circular saw, nail gun, cutting guide.

Step 1. Taking Measurements & Installing the Door Stop

- Measure the door's thickness using a set square.
- With your pencil, mark the entire frame all the way around.
- Using the pencil lines as guidance, attach the door stop.
- With the door stop in place, measure the opening both left and right, top and bottom.
Step 2: Cutting The Door To Size

- Lay your new door flat on a tressel table.
- Remove packaging.
- Using the details from Step 1 mark on both left & right, top and bottom measurements.
- Remove excess with a circular saw.
- Offer door up to frame to check if any further needs removing.
- Use an electic plane to remove any remaining excess.
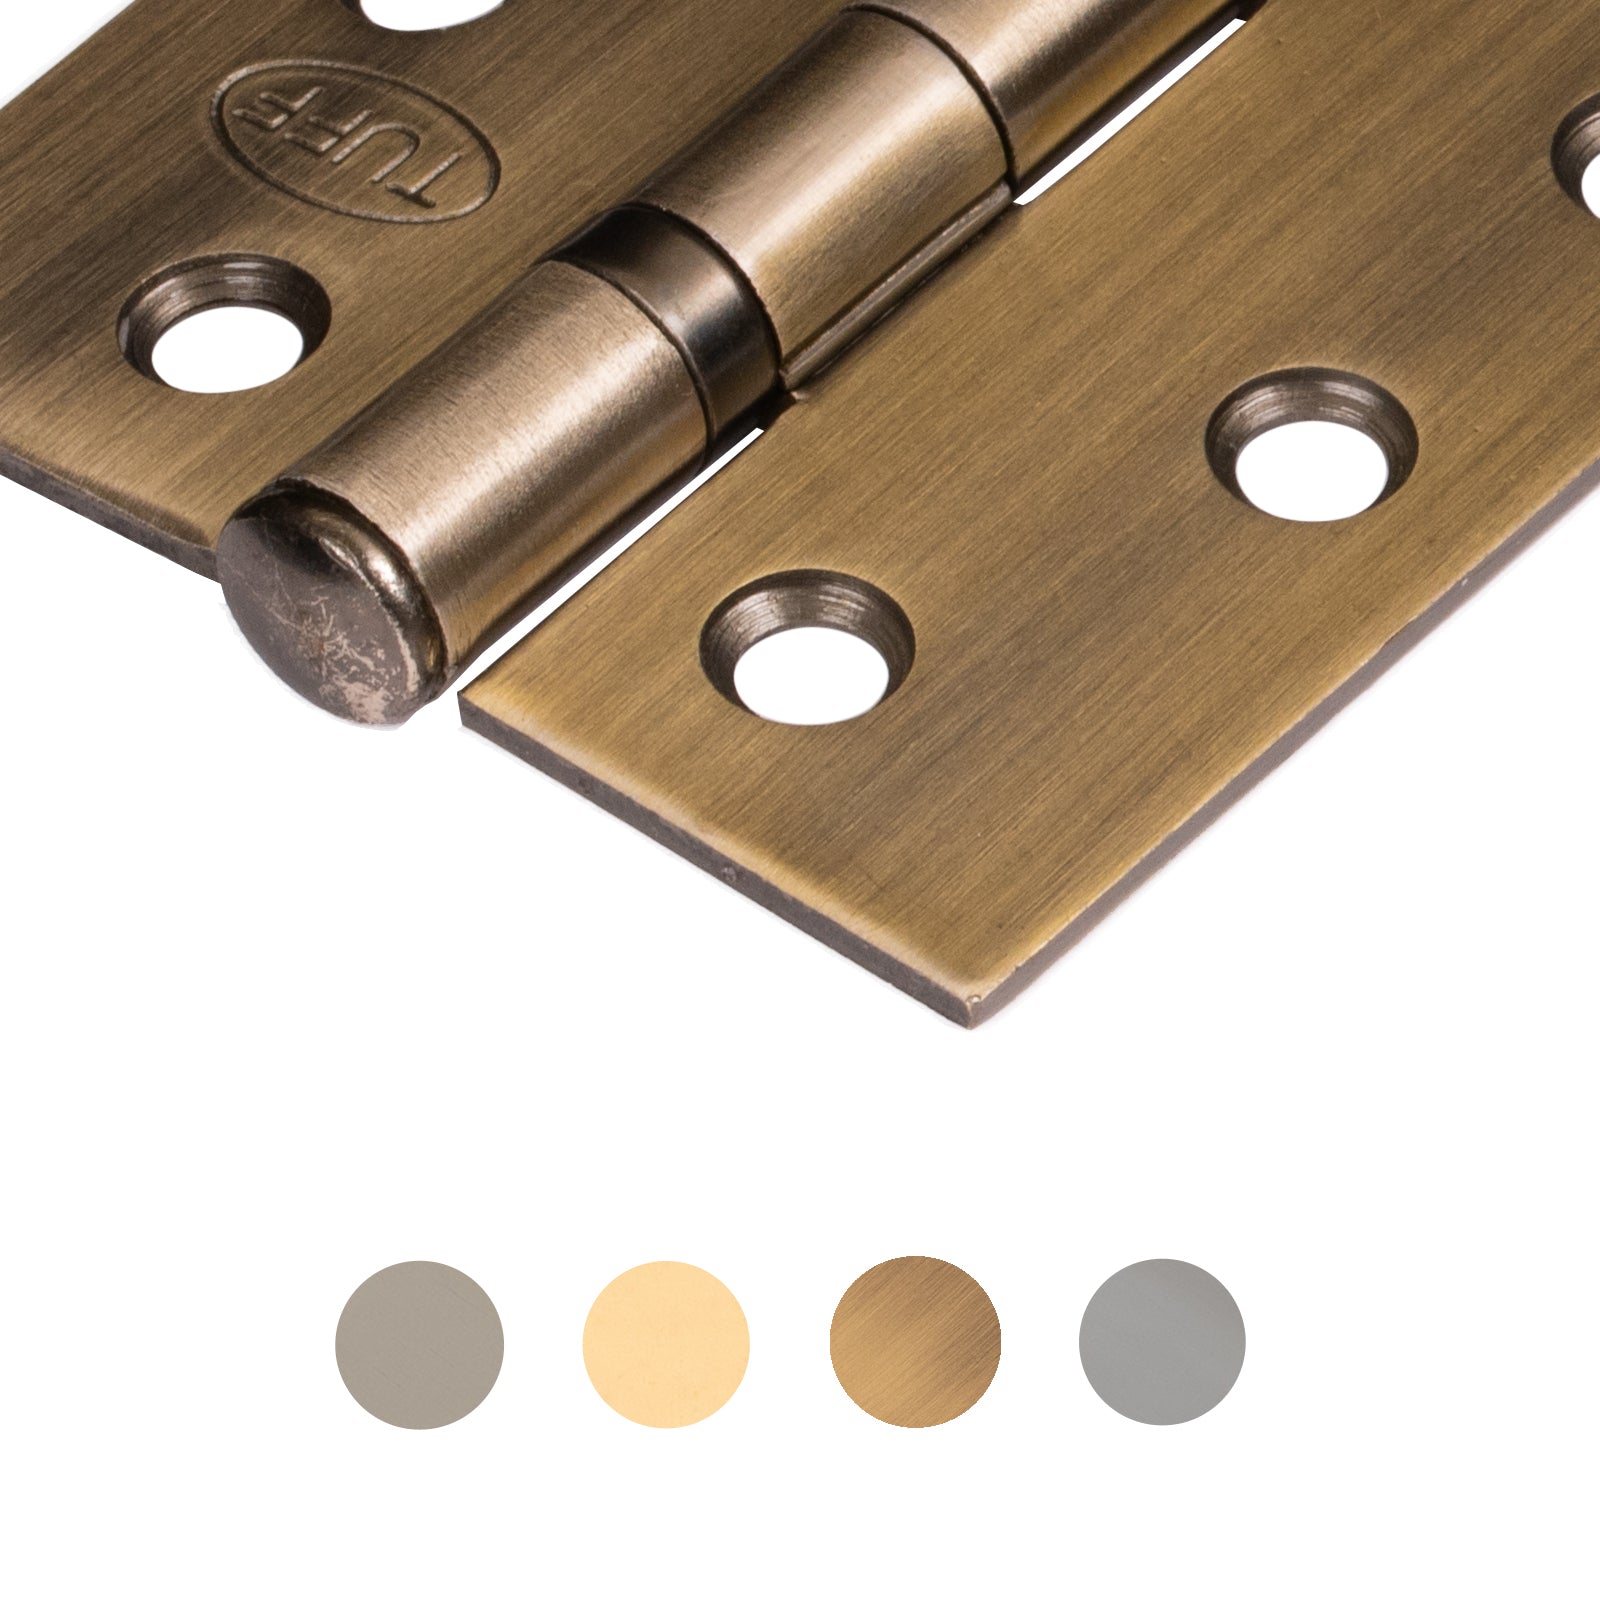
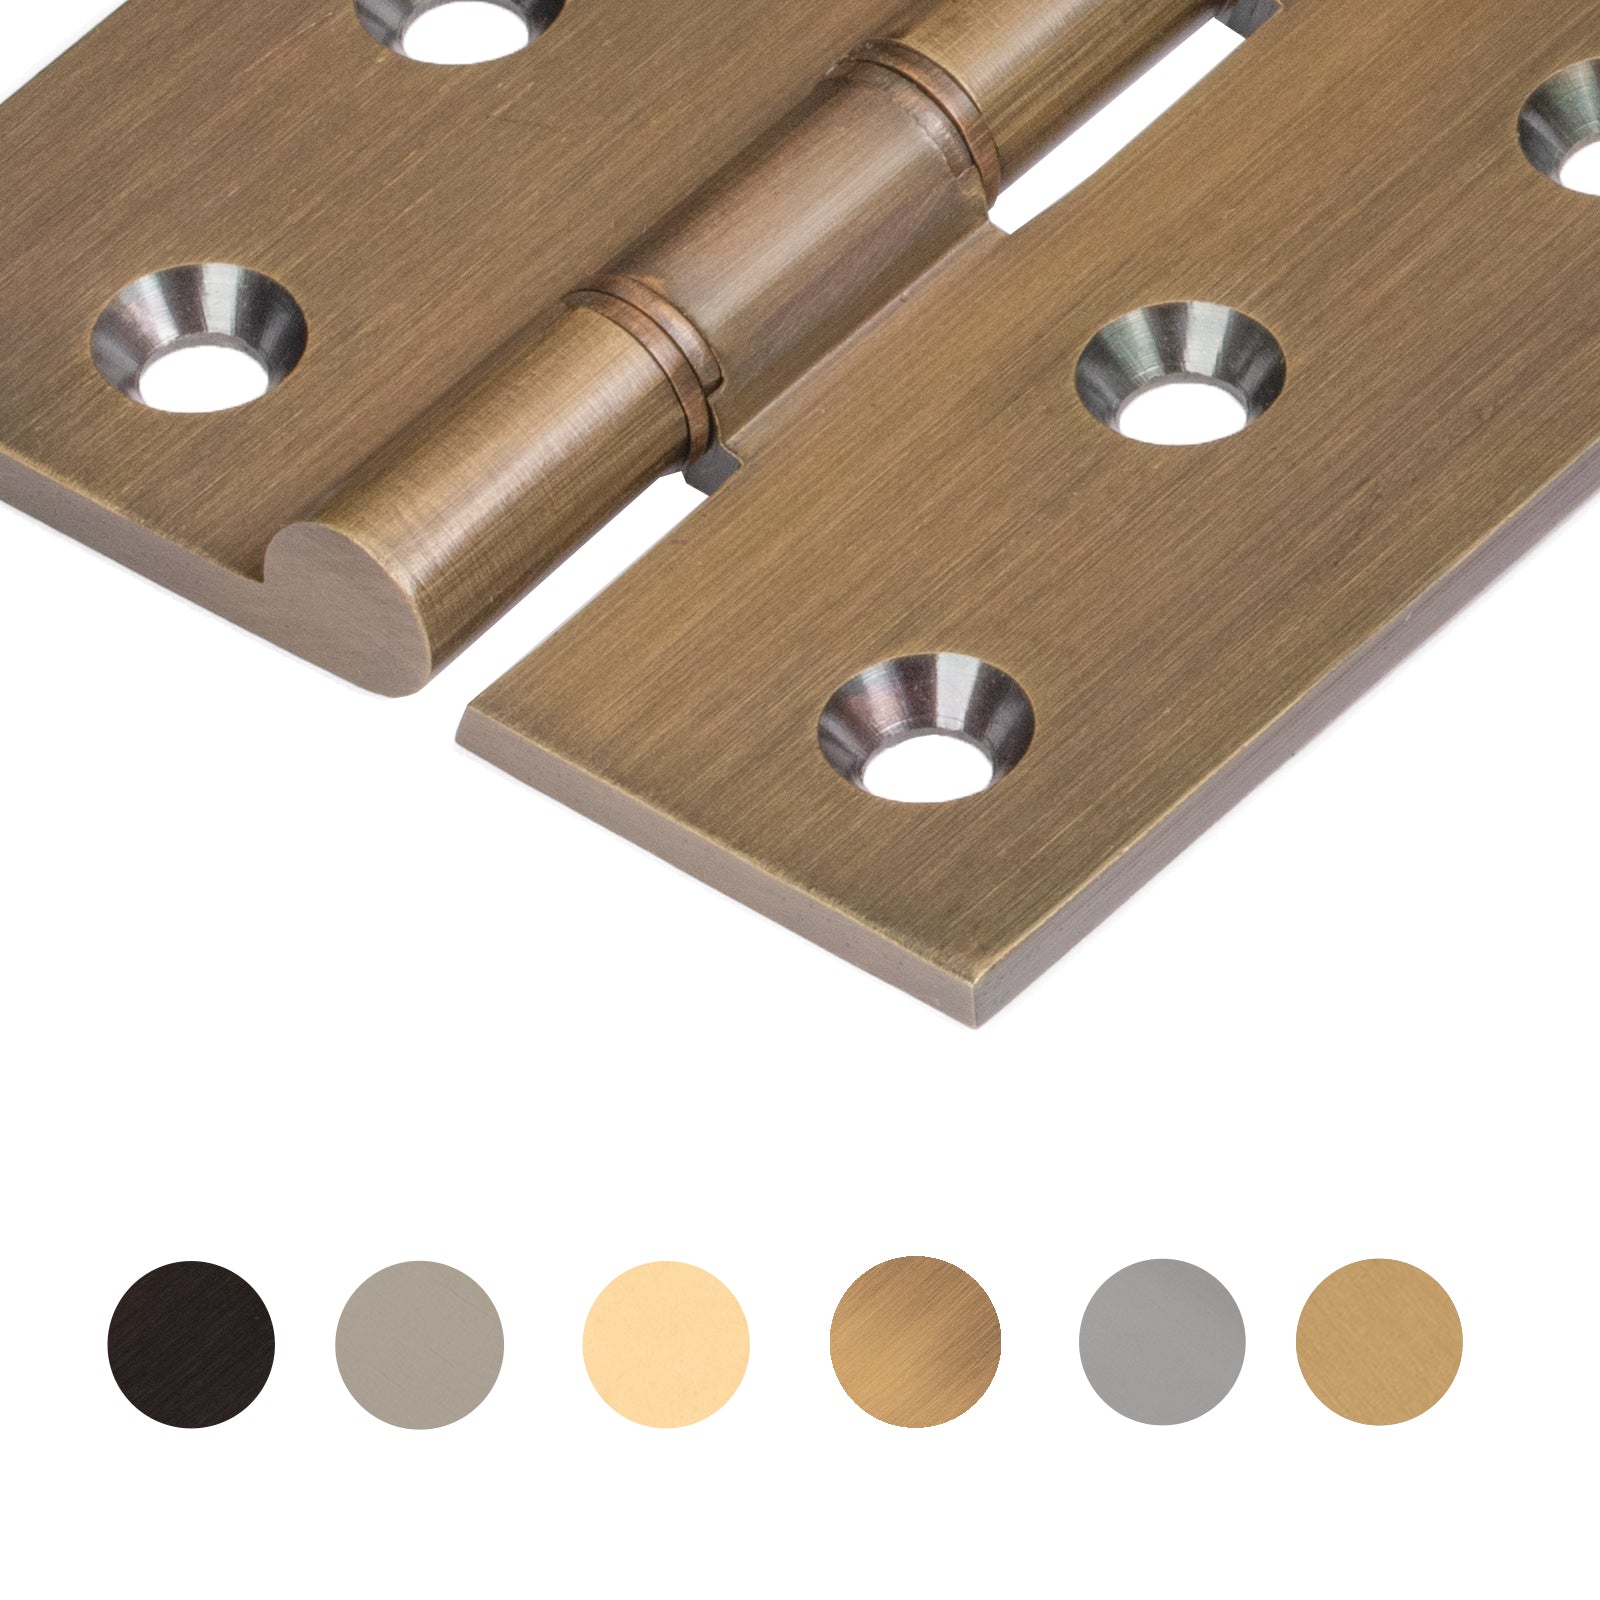
Step 3: Installing The Hinges

- Mark on the door where the hinges will sit on the door
- Tip: As a general guide, a pair of hinges should be installed 6 inches down from the top and 9 inches up from the bottom.
- Using a sharp craft knife trace around the butt hinge.
- With the router set to the correct depth and backstop, remove timber from both upper and lower hinge spaces.
- Tip: A router will always leave rounded corners, but you can square off using a hammer and chisel.
- Screw the hinges to the door, remembering to first pre-drill holes for ease of assembly.
- Offer the door to the opening and mark where the hinges will be on the door surround.
- Again using a craft knife and router, mark the position and remove timber to make a recess for the hinges
- Square off corners with a hammer and chisel and pre-drill screw holes.
See HERE for our range of Butt Hinges, sold as pairs and supplied with fixing screws.
Step 4: Hanging The Door

- Now the hinges are fitted, the door can be offered up to the frame for final assembly.
- Fit the hinges in place by fixing the screws into the pre-drilled holes.
- And your door is now in place!
We hope you found this step-by-step guide helpful. Please contact us if you have any questions.
In the next video of this series, we will show you How To Fit A Tubular Latch.
Comments
Shop The Article


Similar Articles