How to Fit a Bolt Through Door Handle
.png?v=1700567672308&options=c_fill,w_2260,h_1280)
.png?v=1700567684638&options=c_fill,w_750,h_700)
How to Fit a Bolt Through a Door Handle Using TUPAI Lever Handles
Welcome to our step-by-step guide on how to fit a bolt through a door handle, specifically tailored for DIY enthusiasts and users of TUPAI lever handles.
Table of Contents
Introduction
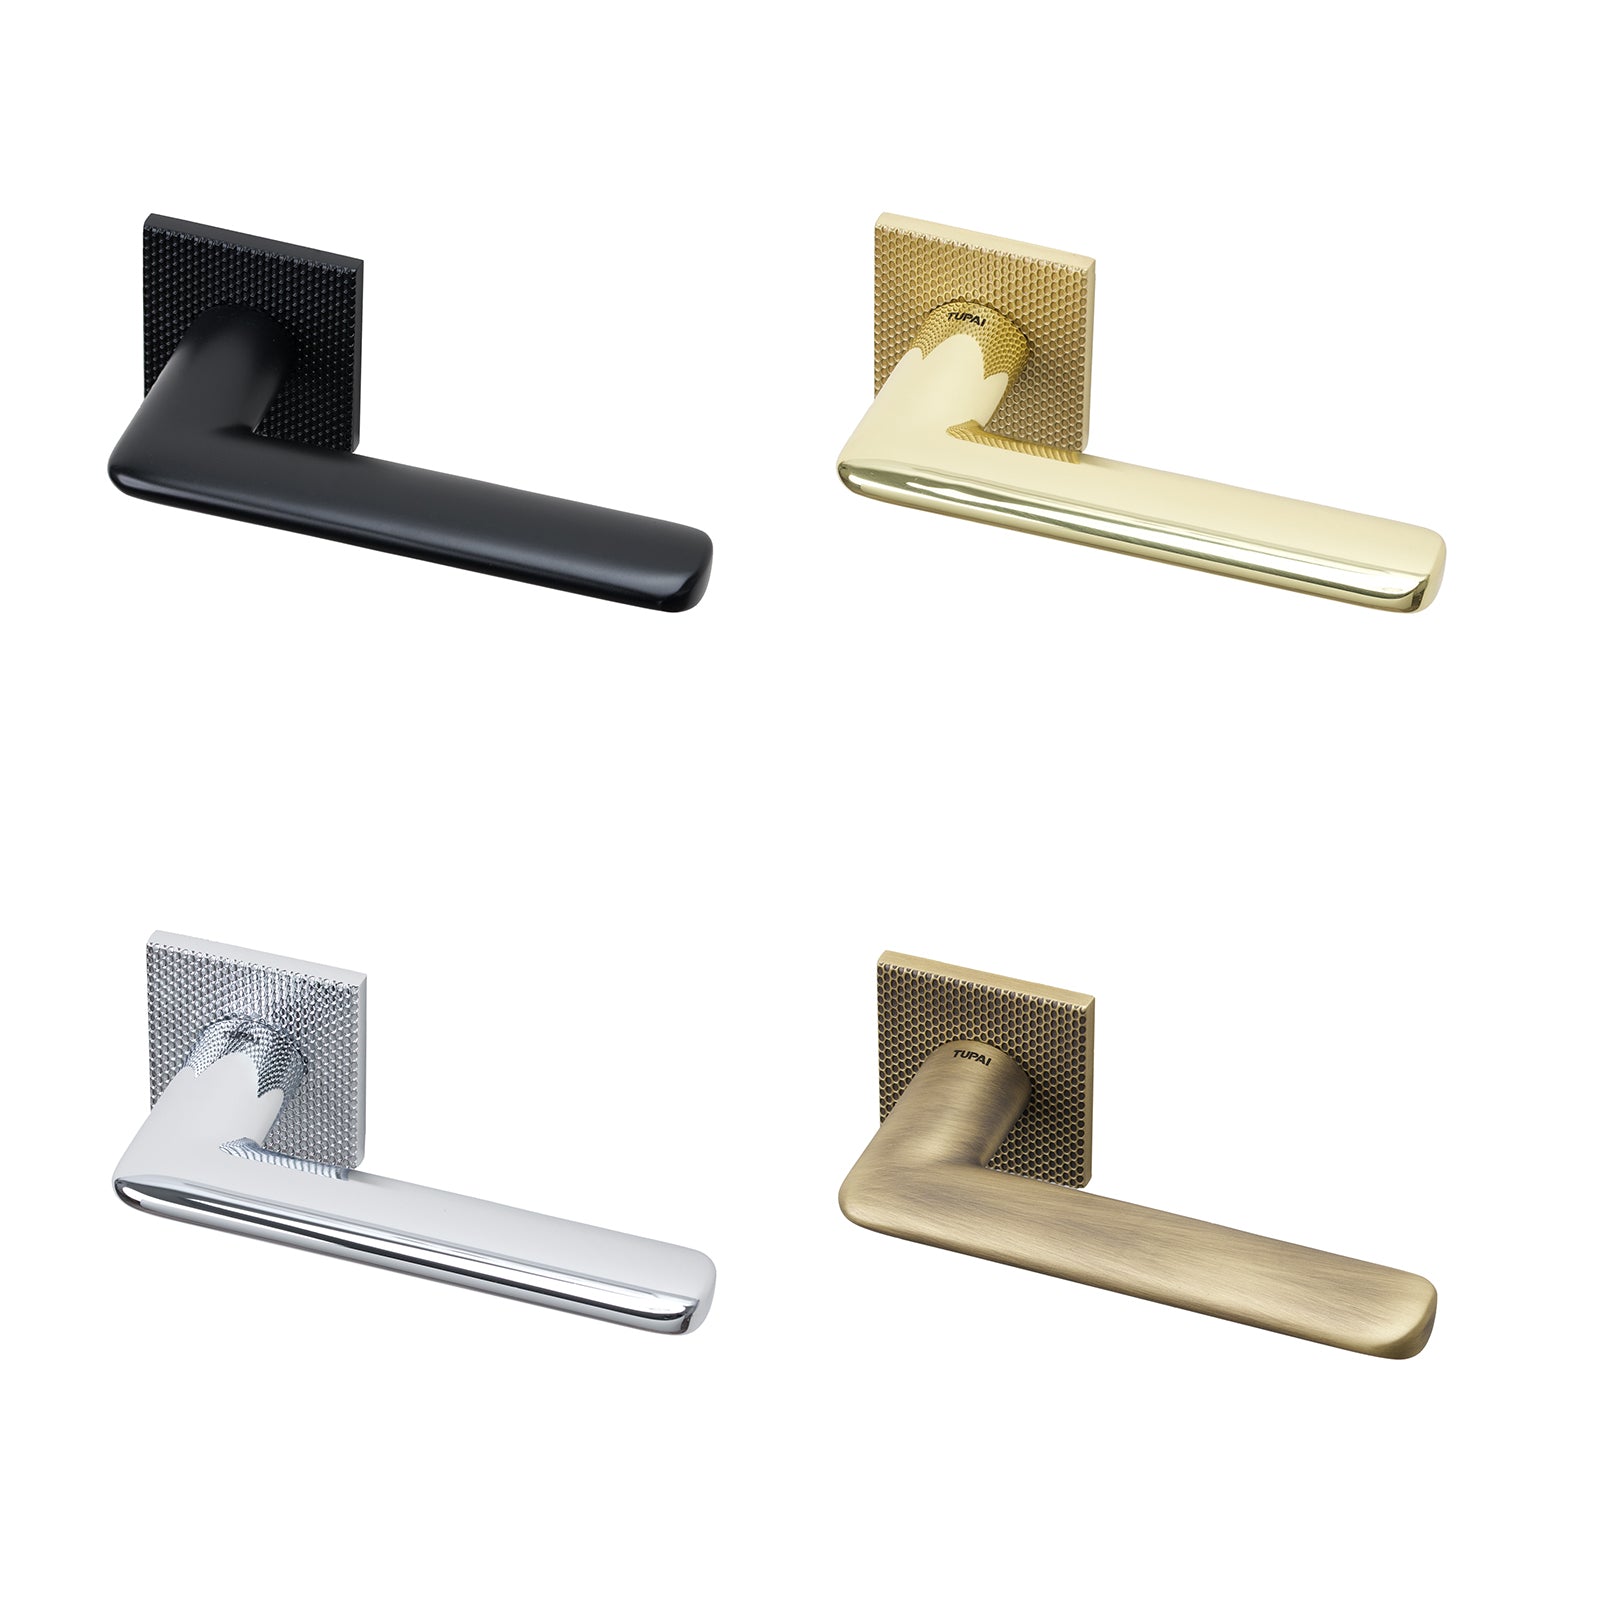
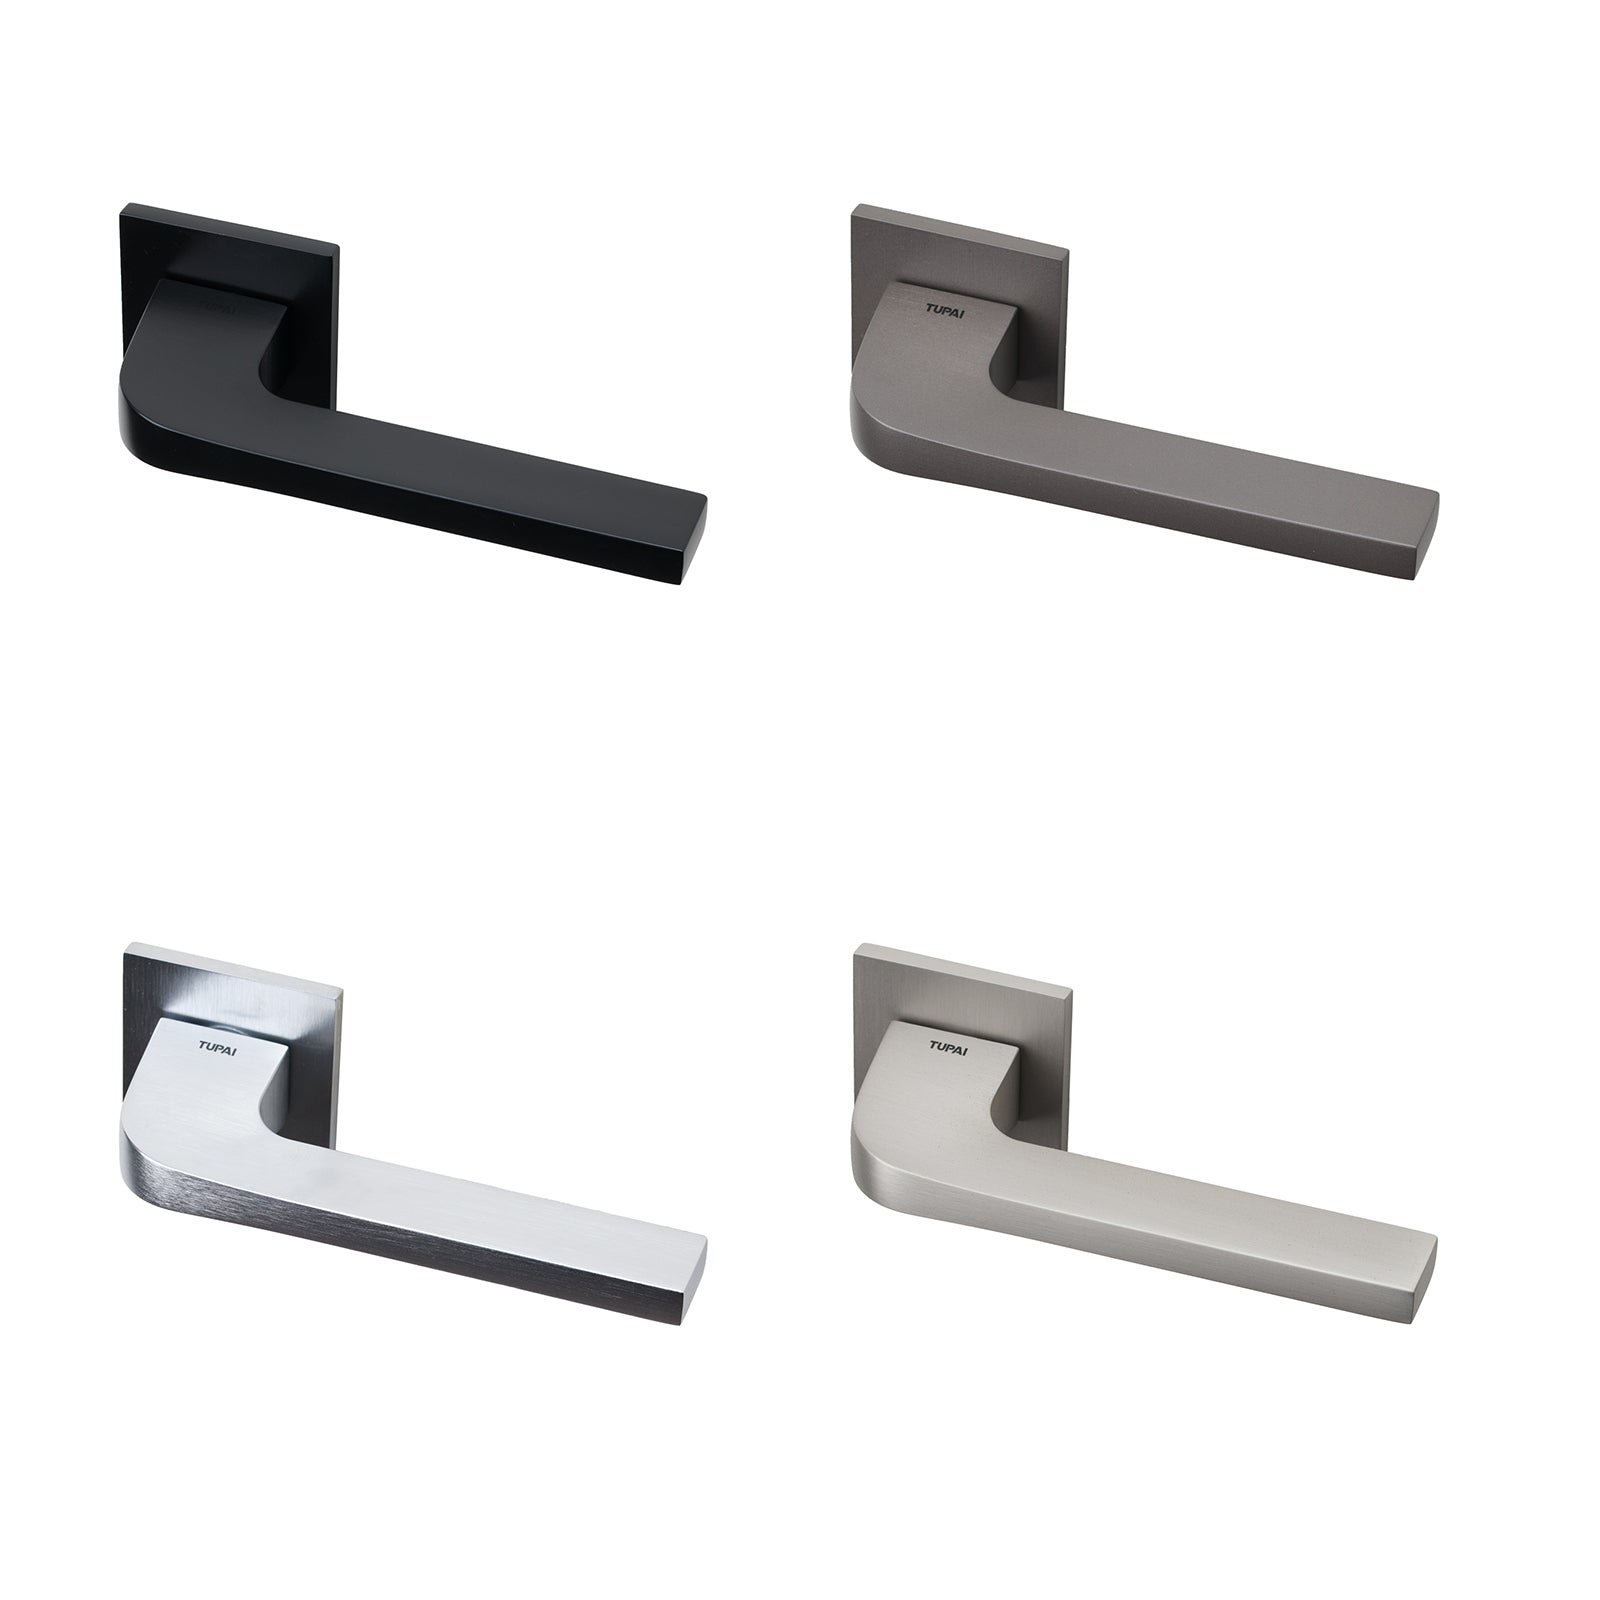
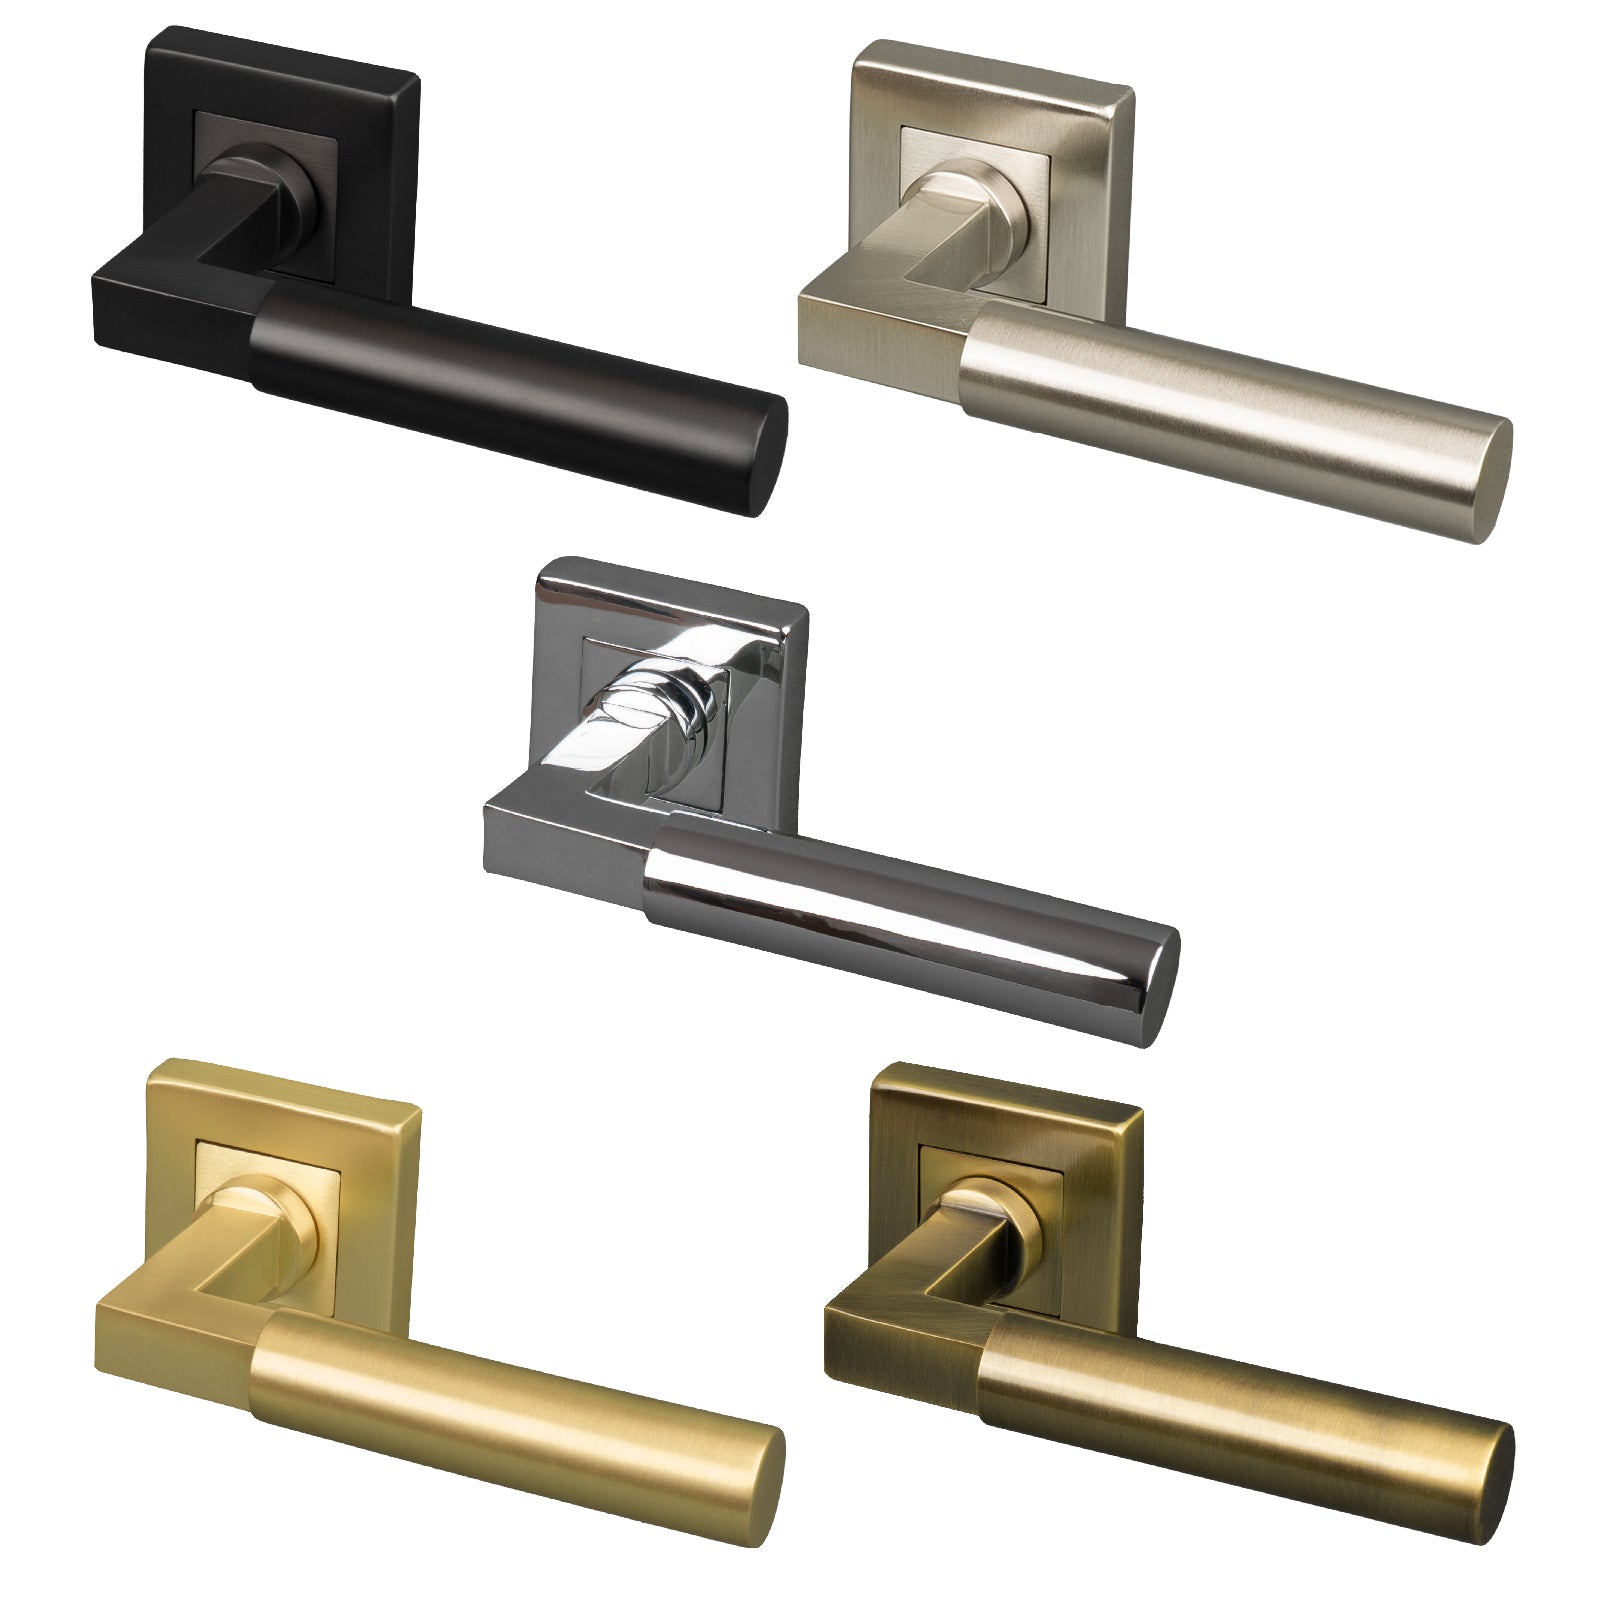
Installing a bolt-through door handle, especially on TUPAI lever handles, is a straightforward process that can significantly enhance the functionality and style of your doors. The bolt-through aspect of this tutorial is universal to any of our bolt-through door handles such as our Charlbury & Phoenix lever handles.
Required Tools
Before beginning with a bolt through door handle, ensure you have the following equipment:
- Power Drill
- Sanding Block
- Phillips Screwdriver
- Hex Keys
- Pencil
- Spade Drill Bit
- High-Speed Drill Bits
- Set Square
- Hacksaw
Preparation Steps
Please take some steps. Here are the essential steps to prepare for this DIY task:
- Understand the Door Specifications: Begin by examining your door to understand its type and material. This will determine the kind of tools and techniques you'll need for the installation.
- Gather Necessary Tools: Ensure you have all the required tools at hand. This typically includes a drill, drill bits, screwdriver, measuring tape, pencil, and safety equipment such as goggles and gloves.
- Prepare the Workspace: Clear the area around the door to provide ample space for working. Cover the floor with a cloth or newspaper to catch any debris or dust during drilling.
- Measure and Mark Accurately: Using your measuring tape and pencil, carefully measure and mark the points on the door where you'll be drilling. Accuracy here is crucial to ensure the handle aligns properly.
- Check for Obstructions: Before drilling, ensure there are no obstructions or internal mechanisms in the door that could be damaged.
- Test the Tools: Before beginning, test your tools on a scrap piece of wood to ensure they are functioning correctly and you are comfortable using them.
Once you have completed these preparation steps, you will be well-equipped to start the actual installation of your bolt-through door handle.
Step-by-Step Guide
Follow these detailed steps to successfully install your TUPAI lever handle with a bolt-through mechanism:
Step 1: Door Preparation
Examine your door to ensure it's ready for installation. You will need to measure the mortice bar opening hole which is determined by your 'backset' on your lock or latch. To learn more about which latch is best for you, discover our Tubular Latch Blog. Once completed you will need to mark and measure your bolt through connection holes, we used an 8mm high-speed drill bit which is slightly larger than the connectors.
Step 2: Attaching Bolt through Connectors
Once all drilling is completed, offer up the bolt-through connections to the door. you will see at the top of the connectors a symbol of TOP R and TOP L; which means Right and Left, if unsure place the handle on the door and if the end of the handle is pointing towards the hinges that's correct.
Understanding the Mechanism: The bolt-through mechanism comprises long bolts that pass through the door, connecting both sides of the handle. This design distributes the force applied to the handle more evenly across the door.
Inserting the Bolts: Take the bolts provided with your lever handle set and insert them through the aligned holes. Start from one side of the door and gently push the bolt through to the opposite side, where the corresponding part of the handle is positioned.
Securing the Bolts: Once the bolts are in place. It’s crucial to tighten the bolts evenly. Over-tightening one side before the other can cause misalignment. A good practice is to alternate between bolts, gradually increasing the tightness until they are firmly secured.
Finalising the Installation: After securing the bolts through door handle connectors, give the handle a gentle wiggle to check for any movement. If the handle feels loose, slightly tighten the bolts until the handle feels solid and stable. Be cautious not to overtighten, as this can strip the threads or damage the door.
Step 3: Securing the Handle
Insert the mortice bar through the door and insert the handle on it. to attach the handle to the bolt-through connector it just requires a firm push onto it with the door held in place, please make sure the lips on the connector and handle at the bottom are lined up correctly. do this on both sides and you have successfully attached your TUPAI lever on rose bolt through handle
Step 5: Final Checks
Once the handle is securely installed, perform a few tests. Open and close the door several times to check the handle's functionality. Adjust the tightness of the screws if necessary, to achieve the desired operation smoothness.
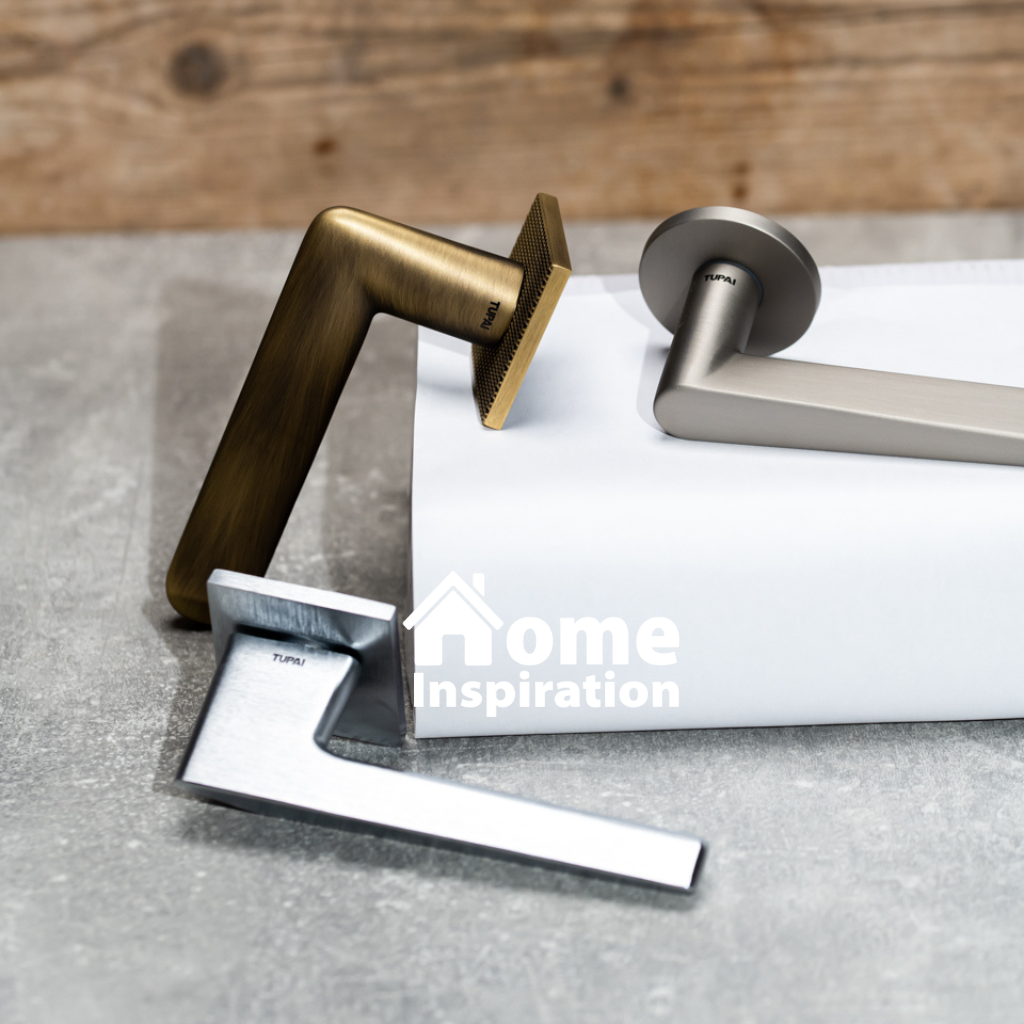
With these steps, your TUPAI lever handle is now successfully installed, bringing a new level of functionality and aesthetic appeal to your space.
Want to see how our handles are made? Discover our tour of TUPAI's factory